We are leading community-driven open source projects. We love to develop reusable software libraries/frameworks/tools, distributed architectures/systems, multi-threaded and real-time applications.
Our team is mainly experienced on Microsoft technologies (C#, ASP.NET Core, Blazor, Entity Framework Core, Typescript), JavaScript frameworks (Angular, React, Vue), web development/design tools, database management systems (SQL Server, MySQL, MongoDB) and mobile development (React Native, Xamarin).
Recent blog posts by Volosoft
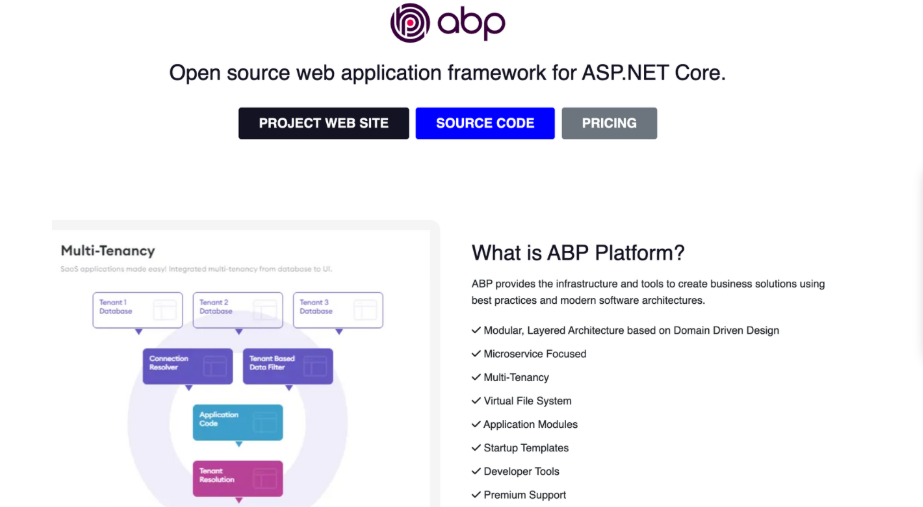
ABP.IO was named one of the best testing tools by Research.com for its modular design, identity management, multi-tenancy, and strong UI support that streamlines .NET projects. Known for its stric...

The demand for online computer science courses has surged in recent years, driven by the rise of remote learning, the tech industry’s growing talent needs, and the flexibility online education off...
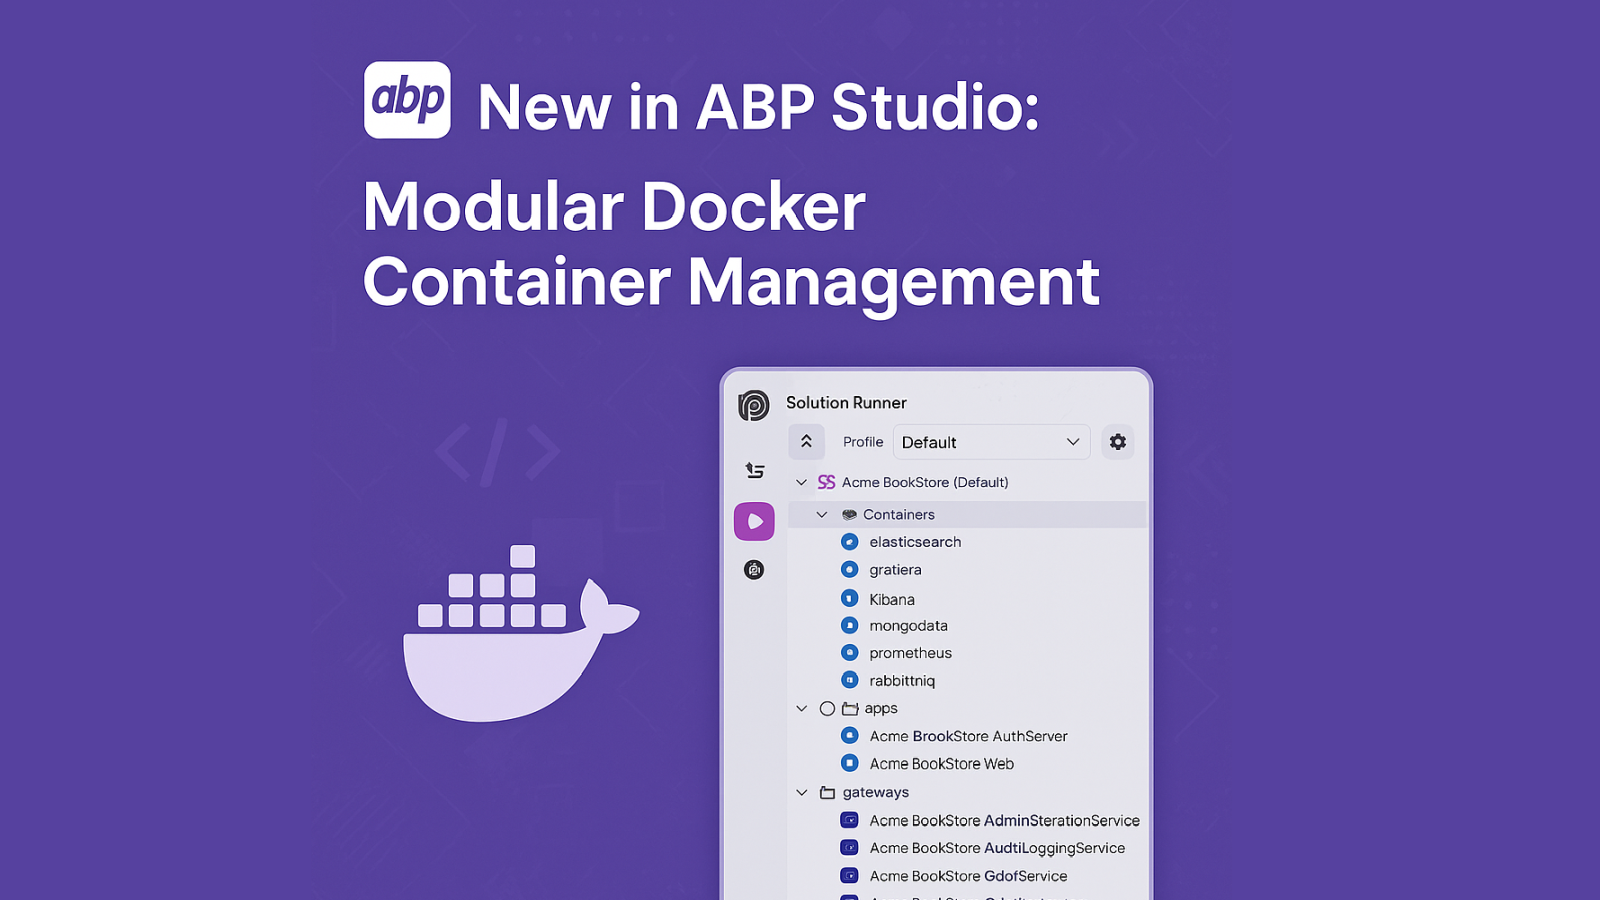
We're excited to announce a new improvement to Docker integration in ABP Studio! With the latest update, you can now manage Docker containers individually, add or remove them dynamically, and laun...
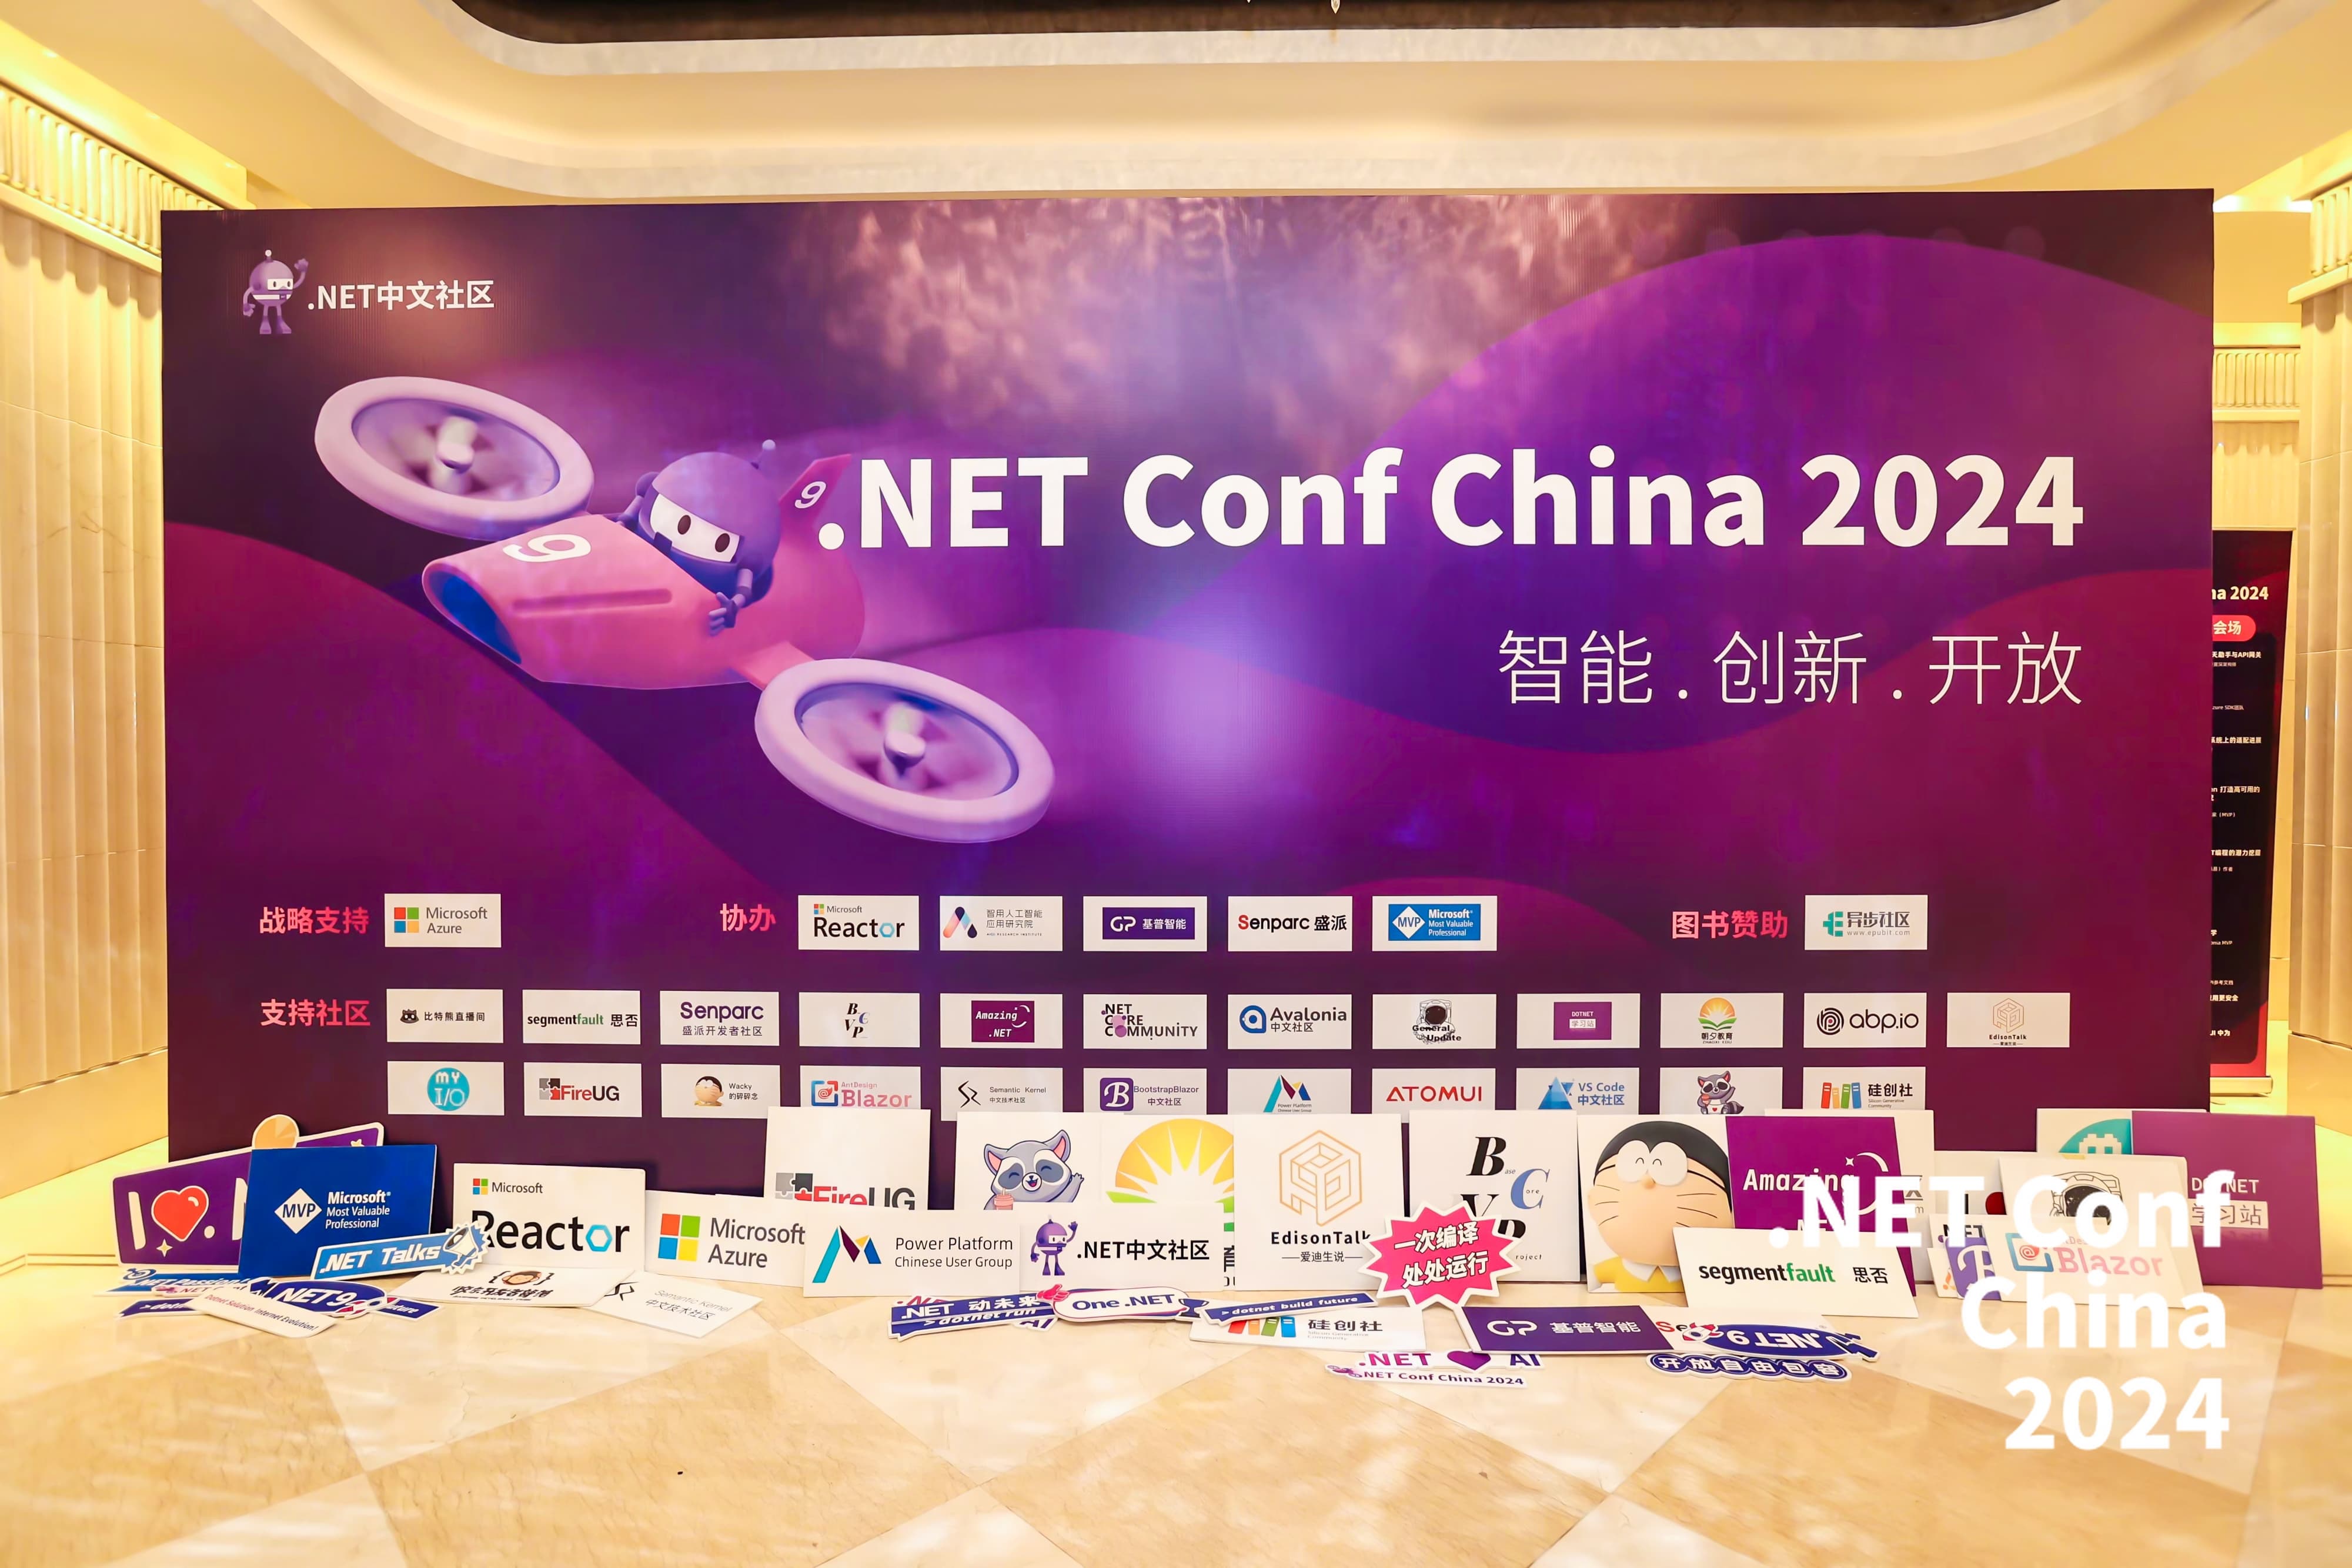
.NET Conf China 2024: Intelligence · Innovation · Openness - We Meet Again! 🎉 The Annual .NET Developer Conference Was Successfully Held! On December 14th, .NET Conf China 2024 was grandly held a...

As Volosoft, we are passionate about the technology and tools we work on. Since our open-source and commercial developer platforms are based on Microsoft's .NET technology, we are closely followin...
We think & act global. Our open source & commercial products are being used by 10,000s of developers from all around the World!
Our commercial products are trusted by developers from 100+ countries. Open source projects are getting contributions from anyone that wants to join. Global, open & transparent.


 450+ packages and over