Azure Key Vault is a cloud service that provides a secure store for secrets. You can securely store keys, passwords, certificates, and other secrets. For more information about Azure Key Vault, please refer to its documentation.
Azure Key Vault provides two methods, Certificate and Managed. We will use the Certificate method in our sample.
Azure Key Vault service is suitable for use in production but in some cases, developers might want to access Azure Key Vault from the development environment. I will explain how to access Azure Key Vault from an ASP.NET Core application which runs on the local development environment.
In order to use the Azure Key Vault, you must have an Azure account. If you don’t have one, you can create a free account on https://azure.microsoft.com/.
Register Azure AD Application
As the first step, we will register a new app on Azure Azure Active Directory. Go to https://portal.azure.com/ and then go to the Azure Active Directory section and then “App Registrations” section. Click “New Registration” and register our app. I will name my app in this sample as “abp.io-vault”.

Upload Local Certificate to Azure
Since we are going to use Certificate method to connect to our Key Vault, we must upload our localhost certificate for the app we have registered. ASP.NET Core creates a certificate for development purposes. In order to upload our local development certificate, we must first export it. To do that, press Windows+R and run certmgr.msc. This will open Windows certificate manager.
If you are using another Operating System, you can search how to export a local certificate for your Operating System on Google.
In Certificate Manager, navigate to “Trusted Root Certification Authorities” and click certificates. Search for “localhost” and select the one with the “IIS Express Development Certificate” friendly name.
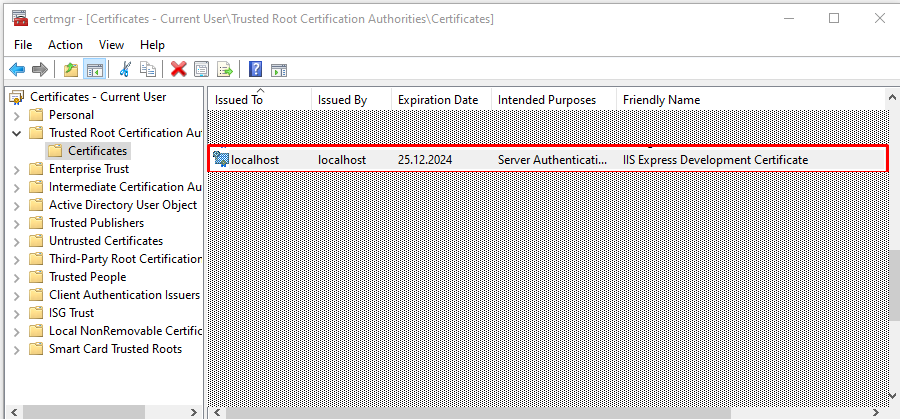
Right-click selected certificate and select “All Tasks > Export…” to export the certificate. You must select exporting the private key to use the exported certificate on Azure. Save the file to a location on your computer. We will upload an exported file to Azure later.
Create Azure Key Vault
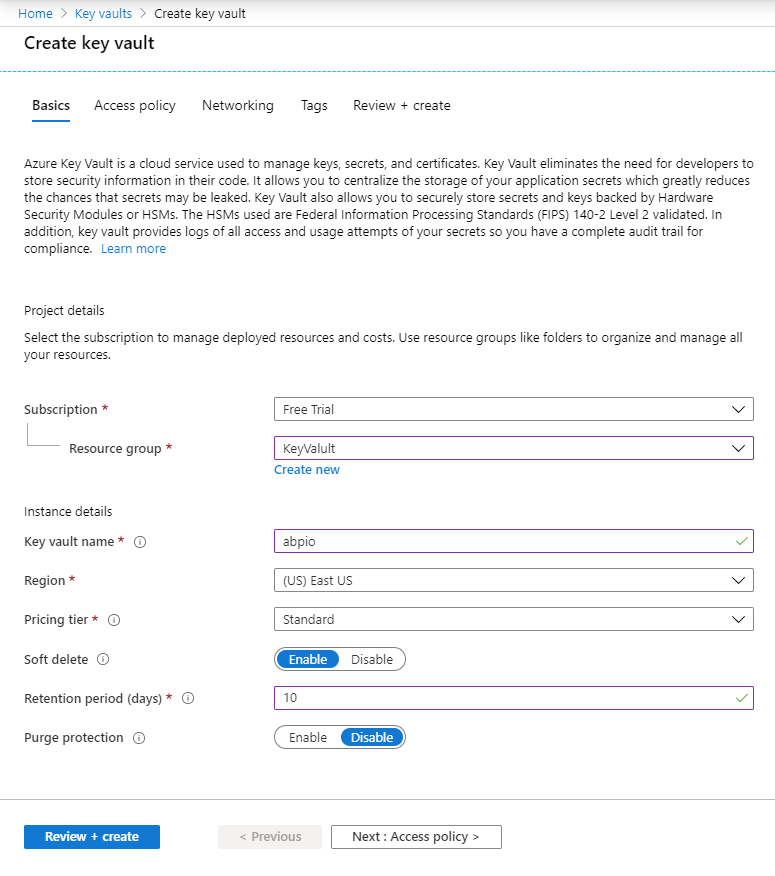
In order to create an Azure Key Vault, go to https://portal.azure.com/, search for “Key vaults” and navigate to key vaults directory. Then, click Add to create a key vault. Fill the form and create your key vault storage.
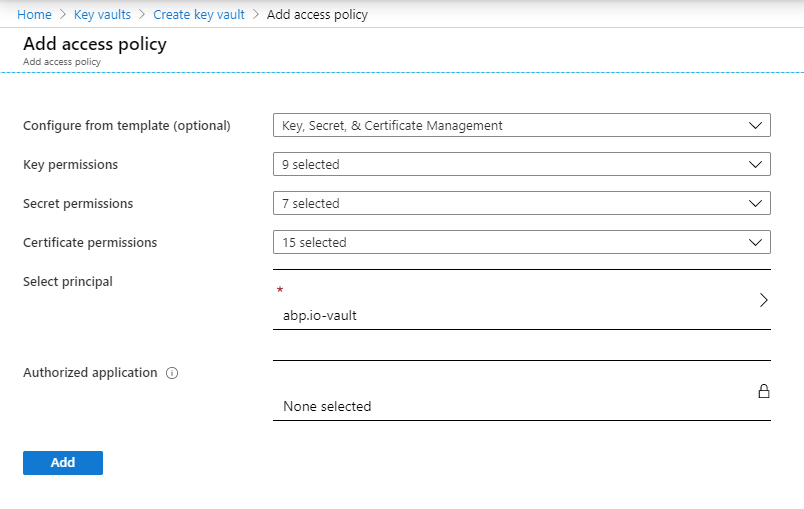
At this step, you can go to “Access policy” tab, create a new policy. You must select the application we have registered before as the principal for the access policy here. I have selected “abp.io-vault”. Then, create the key vault.
After creating the key vault, go to detail of created key vault and create a new secret named VerySecretValue. We will use this value for our test.
Upload Certificate
Before using the key vault we have created, there is one more step. We will upload the certificate we have exported before to Azure.
Go to Azure Active Directory and then app registrations. Select the app you have registered before. Go to “Certificates & secrets” and upload the certificate we have exported before using “Upload certificate” button. This will generate a Thumbprint value and we will use it in our ASP.NET Core app.
Test application
We will create a new ASP.NET Core application to test this. I created a new project using ABP.IO using the command below.
abp new AzureKeyVaultSample
In order to use Azure Key Vault, we must add Microsoft.Extensions.Configuration.AzureKeyVault NuGet package to our project. I have added it to my *.Web project. You can add it to the project which contains Program.cs if you haven’t created your project using ABP.IO.
After adding the NuGet package, let’s configure our web application to read values from Azure Key Vault. Add below statement to CreateHostBuilder in Program.cs.
CreateDefaultBuilder
// your existing configurations
.ConfigureAppConfiguration((context, config) =>
{
    using (var store = new X509Store(StoreLocation.CurrentUser))
    {
        store.Open(OpenFlags.ReadOnly);
        var certs = store.Certificates
            .Find(X509FindType.FindByThumbprint,
                "Thumbprint", false);

        config.AddAzureKeyVault(
            $"https://{KeyVaultName}.vault.azure.net/",
            "ApplicationId",
            certs.OfType<X509Certificate2>().Single());

        store.Close();
    }
})
Thumbprint: We retrieved this value when we upload the certificate before.KeyVaultName: This is the name of the key vault we have created.ApplicationId: This is the Id of the application we have registered for Azure AD.
Now, our ASP.NET Core app is ready to read values from Azure Key Vault from our local development environment.
Let’s change the source code of Index Page to retrieve secret value from Azure Key Vault.
public class IndexModel : AzureKeyVaultSamplePageModel
{
    private readonly IConfiguration _configuration;

    public IndexModel(IConfiguration configuration)
    {
        _configuration = configuration;
    }

    public string VerySecretValue { get; set; }

    public void OnGet()
    {
        VerySecretValue = _configuration.GetValue<string>("VerySecretValue");
    }
}
We just injected IConfiguration to our Page and retrieved the value we have entered before and set it to public property. We can then show this value on our Page.
<div>
    <!-- Other code blocks -->
    <p>
        This is a very secret value: @Model.VerySecretValue
    </p>
</div>
Now, we can run the project and navigate to the Index page and see the retrieved value from the Azure Key Vault.